How I built it: watch the video or read below
Object segmentation
The core feature of this experience is object segmentation. There is a model trained on a large number of objects but without classification: the only thing I need here is segmentation.
Object cropping
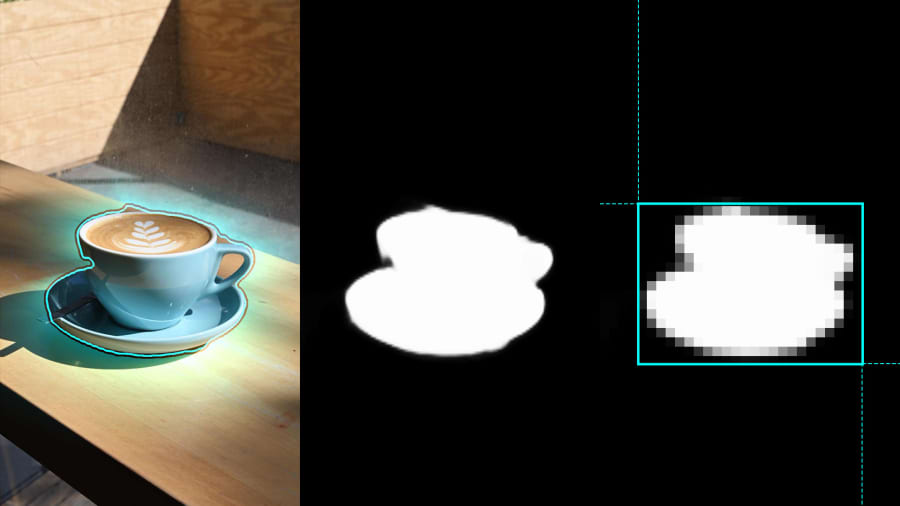
Segmentation is the only first step: to place the texture on a character, it’s required to crop it first. Since cropping is applied only once, doing it inside a machine-learning model is not necessary and also resource-intensive.
So I do it after a user scanned an object, which means the texture is saved. The script pixelates a texture (to reduce iteration count) and traverses from the top left corner to the bottom right, searching for image bounds.
Later these bounds are sent inside a shader that performs cropping.
3D Modelling

I used Blender to made a simple 3D model of a character with a square body, legs, and arms.
Since the mesh is low-poly, manual triangle placement was required: if quad diagonal edges were asymmetric (like \ | \ | \ | \ instead of / | / | \ | \), there would be unwanted mesh distortions.
Animations
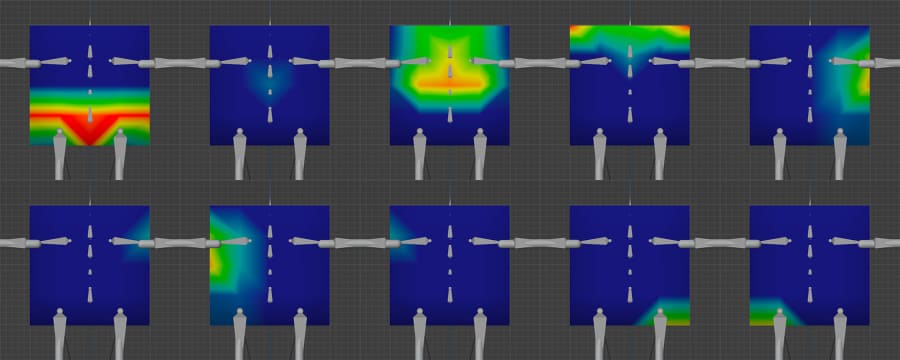
To bring characters alive, I used Adobe Mixamo which offers a lot of pre-made animations. They work well for most properly rigged models, but for such non-standard low-poly and square body, a lot of manual weight painting was applied.
Object placement and UI

I wanted to implement multiple object scanning and placement, but it requires multiplane tracking as well. Unfortunately, there is no multiplane tracking in Lens Studio. Actually, it’s possible only on LiDAR-enabled devices with World Mesh support, but I wanted to achieve a wider device reach.
So I found a workaround with regular surface tracking. After the first object has been placed, the tracker remembers its position and then custom plane raycasting is used to spawn additional objects.
This also makes infinite object scanning and spawn: characters were saved as prefabs and instantiated dynamically.
For each character, there is a Manipulator component instantiated as well, that allows the user to move, scale, and rotate the object. Since I used non-standard tracking for spawning, I had to calculate lookat vector to make a character look at the camera on spawn.
Also, a simple check to prevent random repetition was added.
A lot of code!
Aspect correction
Since the scanned object can have different proportions, the animated model also has to be scaled properly. The problem is, just scaling the armature will cause scaling hands as well, and I wanted to scale only the body. But… It’s not possible to scale the body, since it’s rigged.
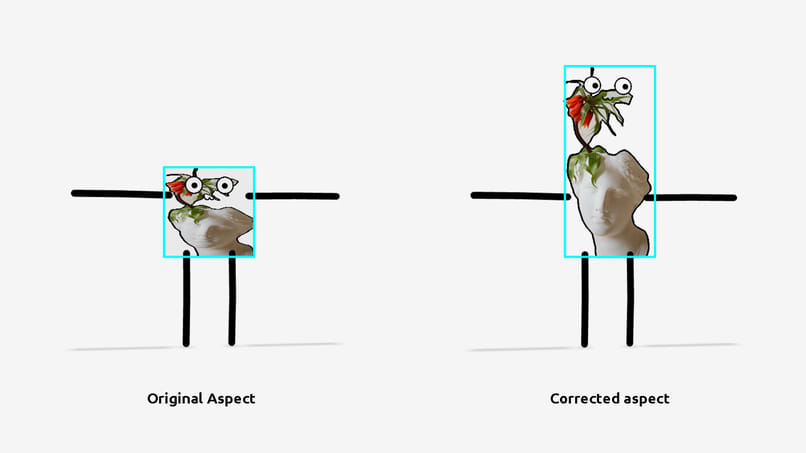
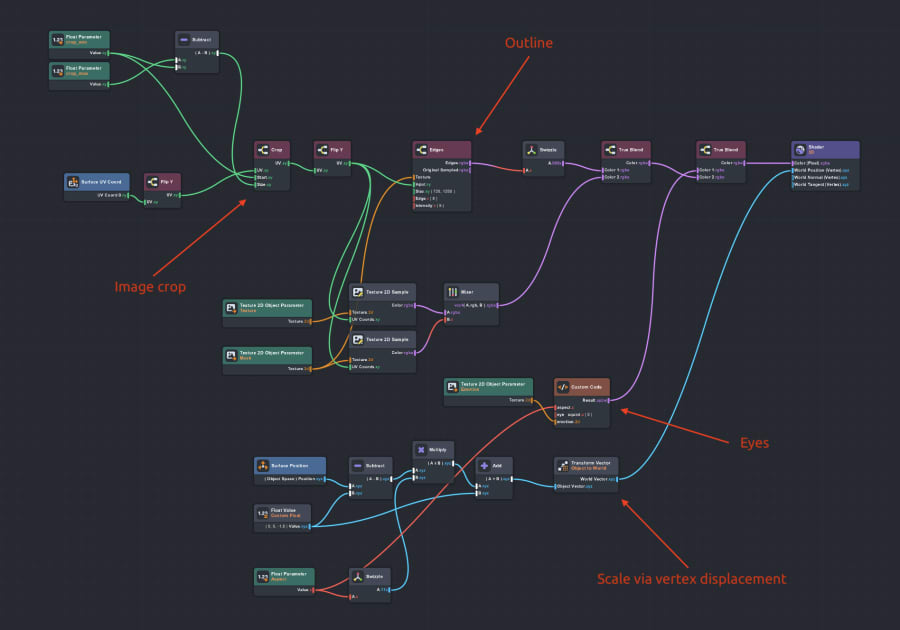
So I decided to just use displacement to move the vertices in a shader. That also makes possible to leave hands in the same position and move only the body. The same shader crops the texture according to calculated bounds and performs edge detection to outline the object.
Emotions
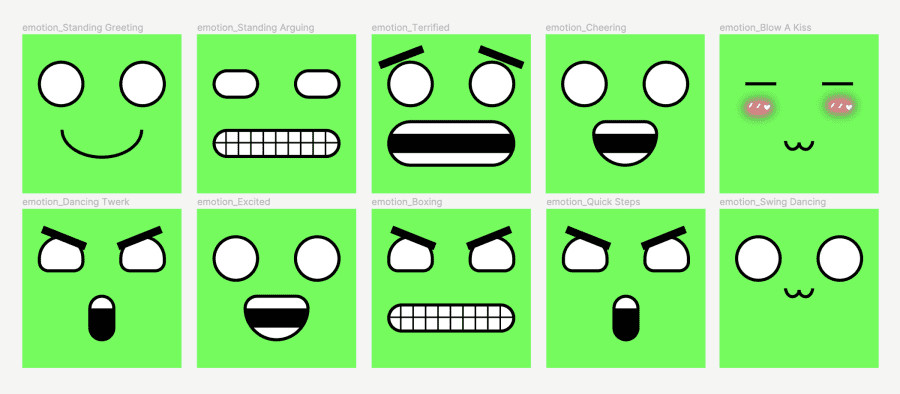
To make characters more alive and funny, I drew several emotions in Figma. For now, they are static, but I’m planning to make the second iteration with fully animated faces. To make them more variable, I’ve started building a simple SDF shader library to be able to build randomized and smooth emotions.
That was challenging!
I don’t have a lot of experience in 3D modeling and usually ask professional 3D artists for help, but in this project, I decided to learn and go through the whole pipeline myself: modeling, rigging, and weight painting.
So in this project, I:
- Learned new stuff about 3D
- Implemented custom ML with additional code to find object bounds
- Made multi-object spawning based on a standard surface tracker using raycasting
Thanks for reading!